Knee Malalignment Taping Technique
This is an excerpt from Practical Guide to Kinesiology Taping for Injury Prevention and Common Medical Conditions-3rd Edition, A by John Gibbons.
The two techniques demonstrated below are potentially very simple in one respect because only one piece of tape is required. I do find in practice that sometimes the simple approach can work very well. Just remember that the majority of knee pain is merely a symptom and the causative factor for the patient’s pain might be in another structure, such as the hip joint, or possibly over-pronation of the foot.
The application of a single piece of tape can be done on its own with a 5 cm small ‘I’ strip. The technique can also be applied in combination with the full knee taping as described below. Another option is to use the 10 cm (Big Daddy) piece of tape as shown in Figure 3.8, in the alternative technique below.
- Patient is long sitting with their knee straight as this will unlock the patella from the trochlear groove and will allow the patella to be glided in a medial direction.
- Apply a smaller ‘I’ strip from the lateral side of the knee (LCL) and with the thumb apply a medial glide to the lateral side of the patella. At the same time increase the tension to the tape to around 50–75% and apply over the patella to maintain the gliding motion, as shown by Figure 3.8a and b.
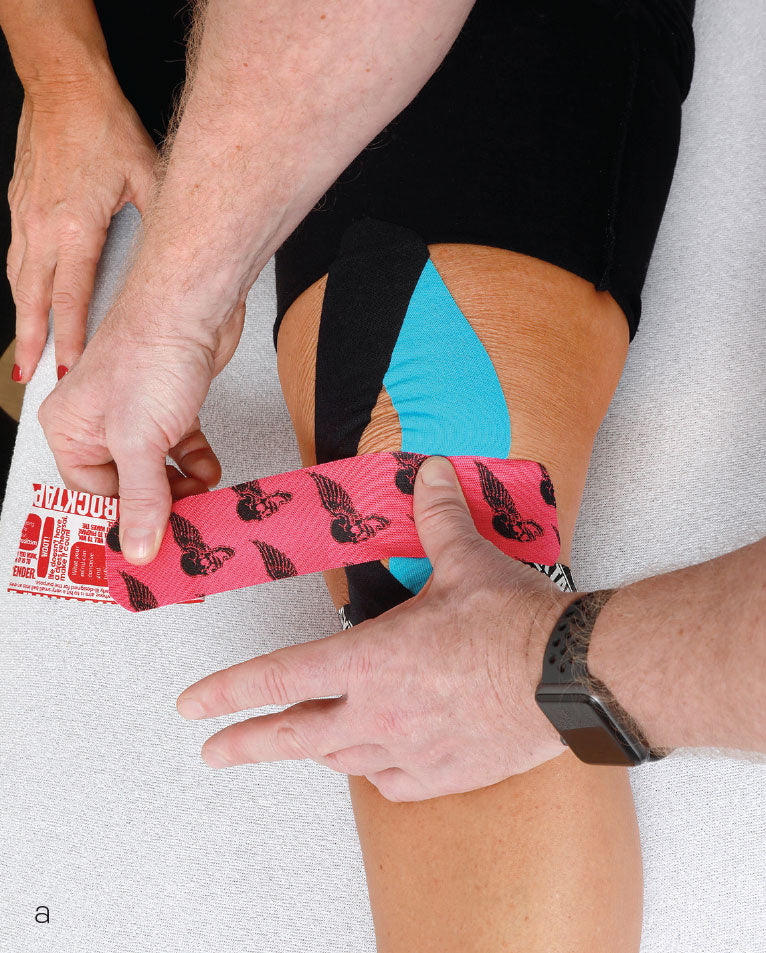
Figure 3.8 a: Apply the tape (with tension) from the lateral side and finish medially, whilst applying pressure to the patella from the thumb. 
Figure 3.8 b: Finished position.
- Heat activate the glue.
Alternative technique
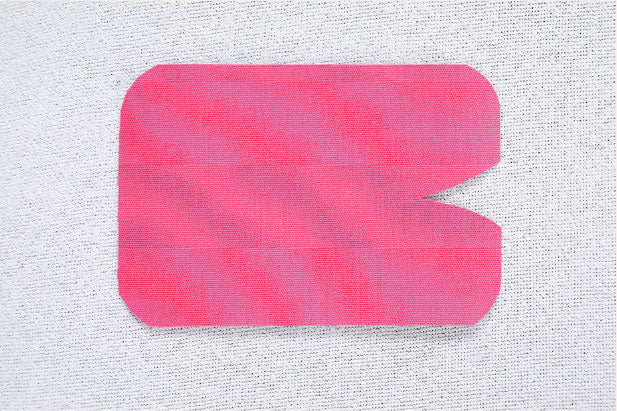
This is similar to the technique demonstrated above; however, this time a larger piece of tape (10 cm – Big Daddy) is used and is cut into the shape shown in Figure 3.9.
- The tape is first applied from the lateral aspect of the patella, near the lateral collateral ligament (LCL), as shown in Figure 3.10.

Figure 3.10 First application of the tape, from the lateral side of the knee.
- With the thumb apply a medial glide to the lateral side of the patella. At the same time increase the tension to the superior part of the tape to around 50–75% and apply over the patella to maintain the gliding motion, as shown in Figure 3.11.

Figure 3.11 Tension the superior part of the tape with medial glide from the thumb.
- Use the same procedure as above, and with the thumb apply a medial glide to the lateral side of the patella and increase the tension to the inferior part of the tape to around 50–75%and apply over the patella, as shown in Figure 3.12.
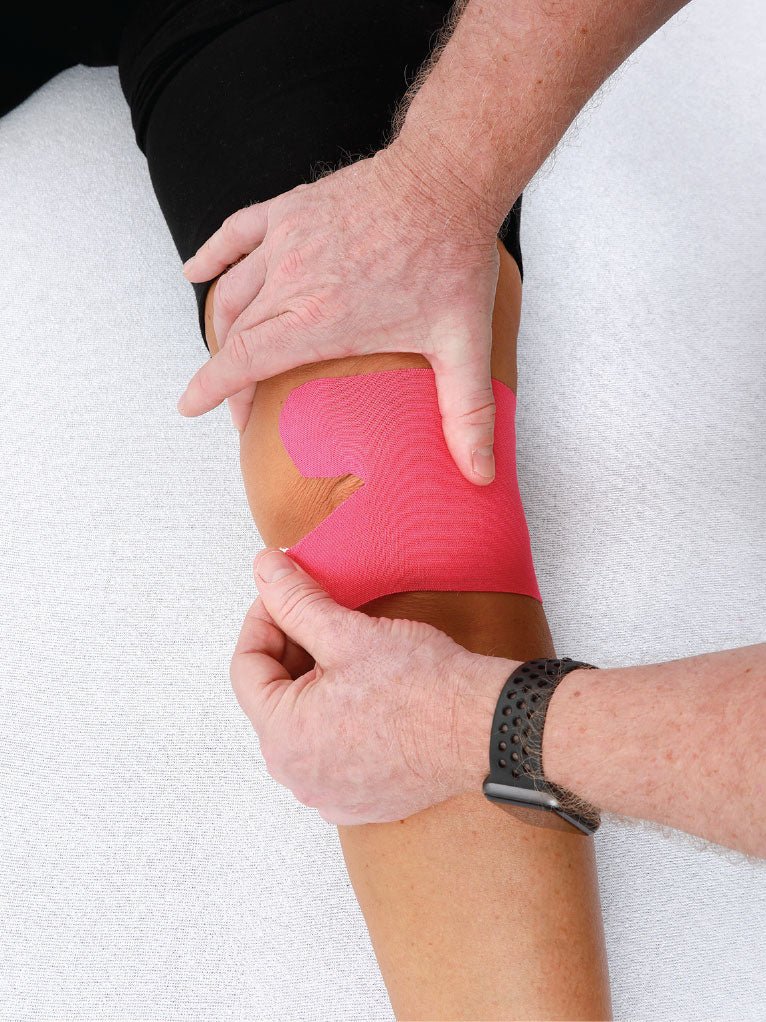
Figure 3.12 Apply tension to the inferior part of the tape with medial glide from the thumb.
Once you have applied the tape then the knee should look like Figure 3.13.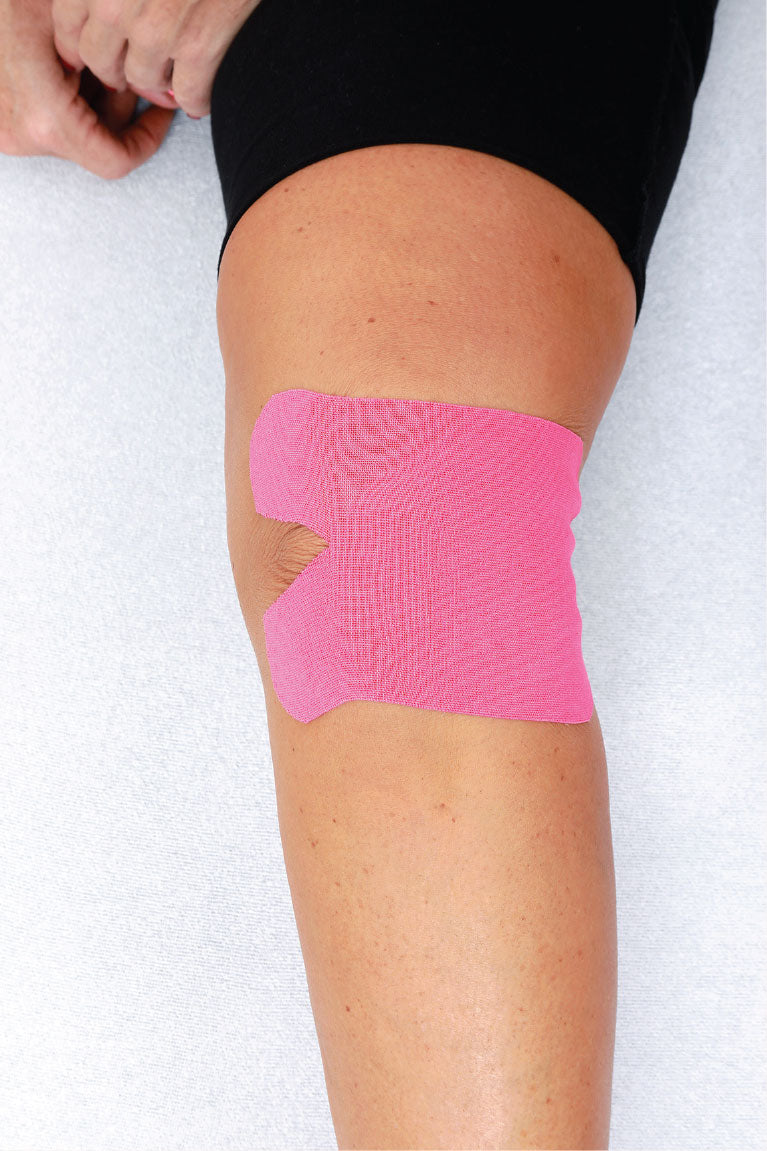
Figure 3.13 How it should look after the tape has been applied.
- Heat activate the glue.
SHOP

Get the latest insights with regular newsletters, plus periodic product information and special insider offers.
JOIN NOW